BALANCING MACHINE ONDESK 500 AS QA MEASUREMENT STATION FOR QUALITY ASSURANCE
PRODUCTION RELIABILITY THROUGH EARLY UNBALANCE MEASUREMENT
Benefits of the QA measuring station for your production and quality assurance
Self-produced rotating parts or outsourced parts rarely show excessive unbalance from the outside. Once these faulty parts are assembled, rework or even complete rejection is the consequence. Process control needs early feedback so that buffers are not unnecessarily filled with defective parts that are only noticed later.
With the QA station, you can check the unbalance of individual parts or assemblies before they are finally completed, assembled and finally balanced or shipped. We also recommend checking delivered components before assembly, ideally already at goods receipt.
For quality assurance in production, take random samples of your components to detect unbalance-generating deviations in production at an early stage and take appropriate countermeasures. Especially for already assembled components, you can use our optional software function EOL to evaluate your parts according to additional criteria: For example, defective or incorrectly installed bearings.
Flexible in application - Comfortable to operate
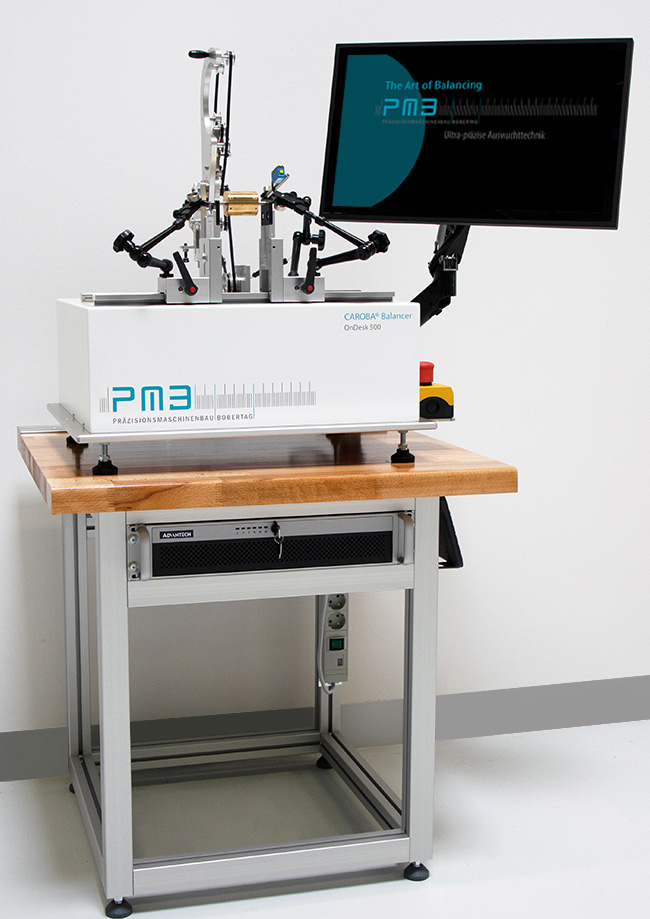
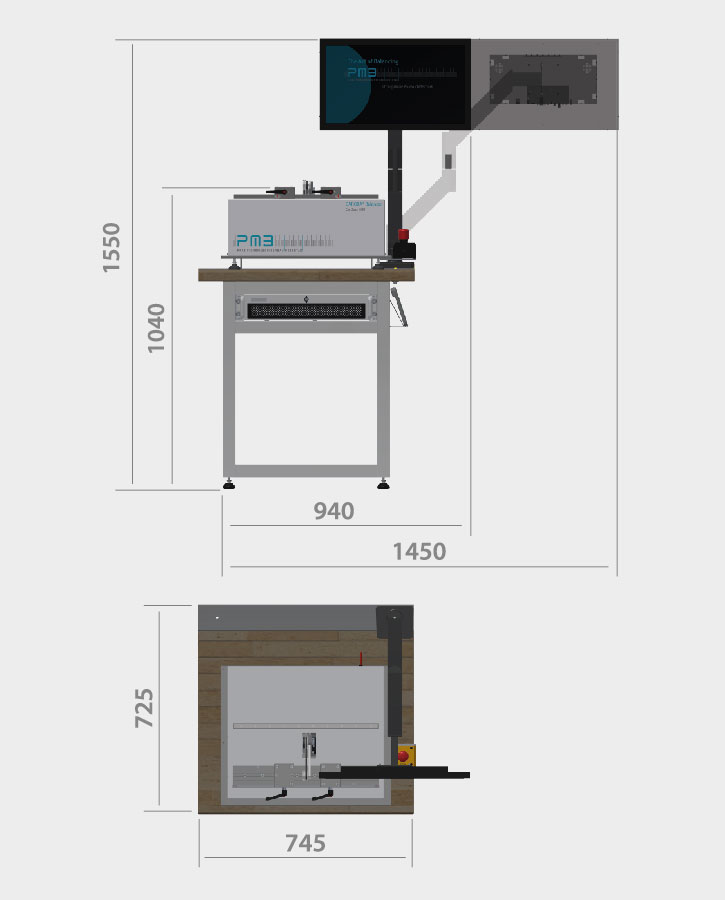
The QA measuring station consists of a robust frame with a work plate on which the measuring assembly is mounted. The system is operated very conveniently via a swiveling touch screen, optionally with or without an additional keyboard. Based on the required measuring accuracy and your requirements, the appropriate UMS measuring system comes into operation. An industrial PC with Windows operating system is mounted protected under the worktop and contains the measuring software already installed and set up.
The standard OnDesk 500 measuring setup is easily adaptable in case of component change or product change by exchanging the support. The measuring station is designed in such a way that it can also be replaced by a completely different setup. For example, the "Vertical Air Module" for unbalance measurement of compressor wheels on an air bearing mandrel or a spindle assembly for fan wheels. We also manufacture special assemblies, precisely tailored to your component. You control assemblies with their own drive directly with the drive control of our balancing software. This gives you maximum flexibility for a wide range of components.
CAROBA® Balancer Measuring Station QA
Your Inquiry
If you have any questions about our measuring station QA or would like to request a quote, please send us an e-mail or use our contact form. We will contact you as soon as possible.
Send us an e-mail to: info@pmb-bobertag.de or contact us by phone at +49 (0) 631 204015 0


